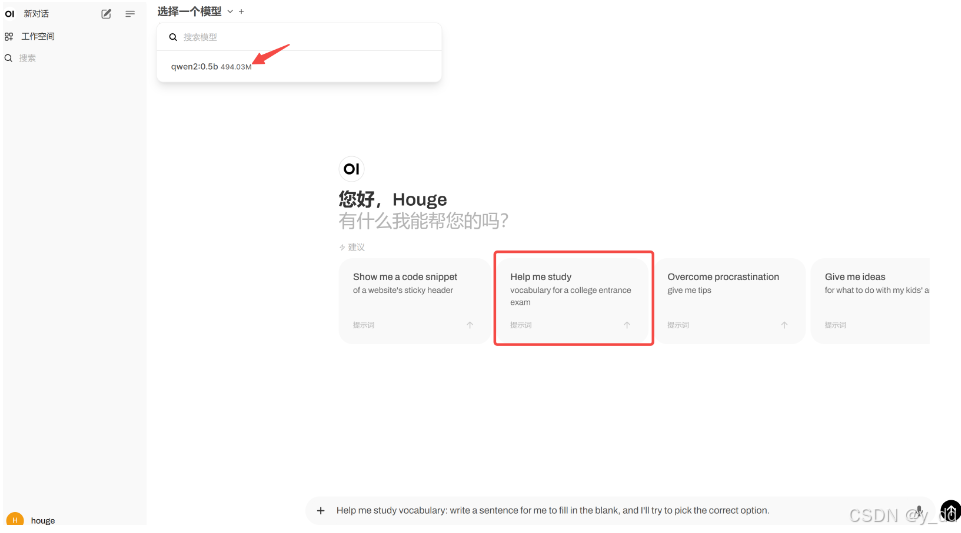
Open WebUI 前身就是 Ollama WebUI,为 Ollama 提供一个可视化界面,可以完全离线运行,支持 Ollama 和兼容 OpenAI 的 API。
github网址
https://github.com/open-webui/open-webui
安装
第一种 docker安装
如果ollama 安装在同一台服务器上:
docker run -d -p 3000:8080 --add-host=host.docker.internal:host-gateway -v open-webui:/app/backend/data --name open-webui --restart always ghcr.io/open-webui/open-webui:main
如果不在同一台服务器上:
docker run -d -p 3000:8080 -e OLLAMA_BASE_URL=https://example.com -v open-webui:/app/backend/data --name open-webui --restart always ghcr.io/open-webui/open-webui:main
如果有NVIDIA的GPU:
docker run -d -p 3000:8080 --gpus all --add-host=host.docker.internal:host-gateway -v open-webui:/app/backend/data --name open-webui --restart always ghcr.io/open-webui/open-webui:cuda
还有一些安装细节,可以参考https://docs.openwebui.com/ 查看
其他安装方法
pip
注意这个有版本要求:
Python 3.11 is required for this method
安装
pip install open-webui
使用:
open-webui serve
从open webui的github repo
要求:
🐰 Node.js >= 20.10
🐍 Python >= 3.11
在linux或者macos
git clone https://github.com/open-webui/open-webui.git
cd open-webui/
# Copying required .env file
cp -RPp .env.example .env
# Building Frontend Using Node
npm install
npm run build
cd ./backend
# Optional: To install using Conda as your development environment, follow these instructions:
# Create and activate a Conda environment
conda create --name open-webui-env python=3.11
conda activate open-webui-env
# Install dependencies
pip install -r requirements.txt -U
# Start the application
bash start.sh
在windows下:
git clone https://github.com/open-webui/open-webui.git
cd open-webui
copy .env.example .env
npm install
npm run build
cd .\backend
# Optional: To install using Conda as your development environment, follow these instructions:
# Create and activate a Conda environment
conda create --name open-webui-env python=3.11
conda activate open-webui-env
pip install -r requirements.txt -U
start.bat
安装完成后, openwebui运行在http://localhost:8080/上了
完全离线安装
上面是比较推荐的方法,如果完全离线可以从python官网下载python,然后官网下载open webui


